













- Round Marble Dining Table: The Secret to Dynamic Space
 Round Marble Dining Table: The Secret to Dynamic SpaceDiscover how the combination of cool natural stone and warm wood redefines the center of your home and how to perfectly stage a round table.
 - Decorating Empty Corners & Open Spaces: The Architectural Sideboard Solution
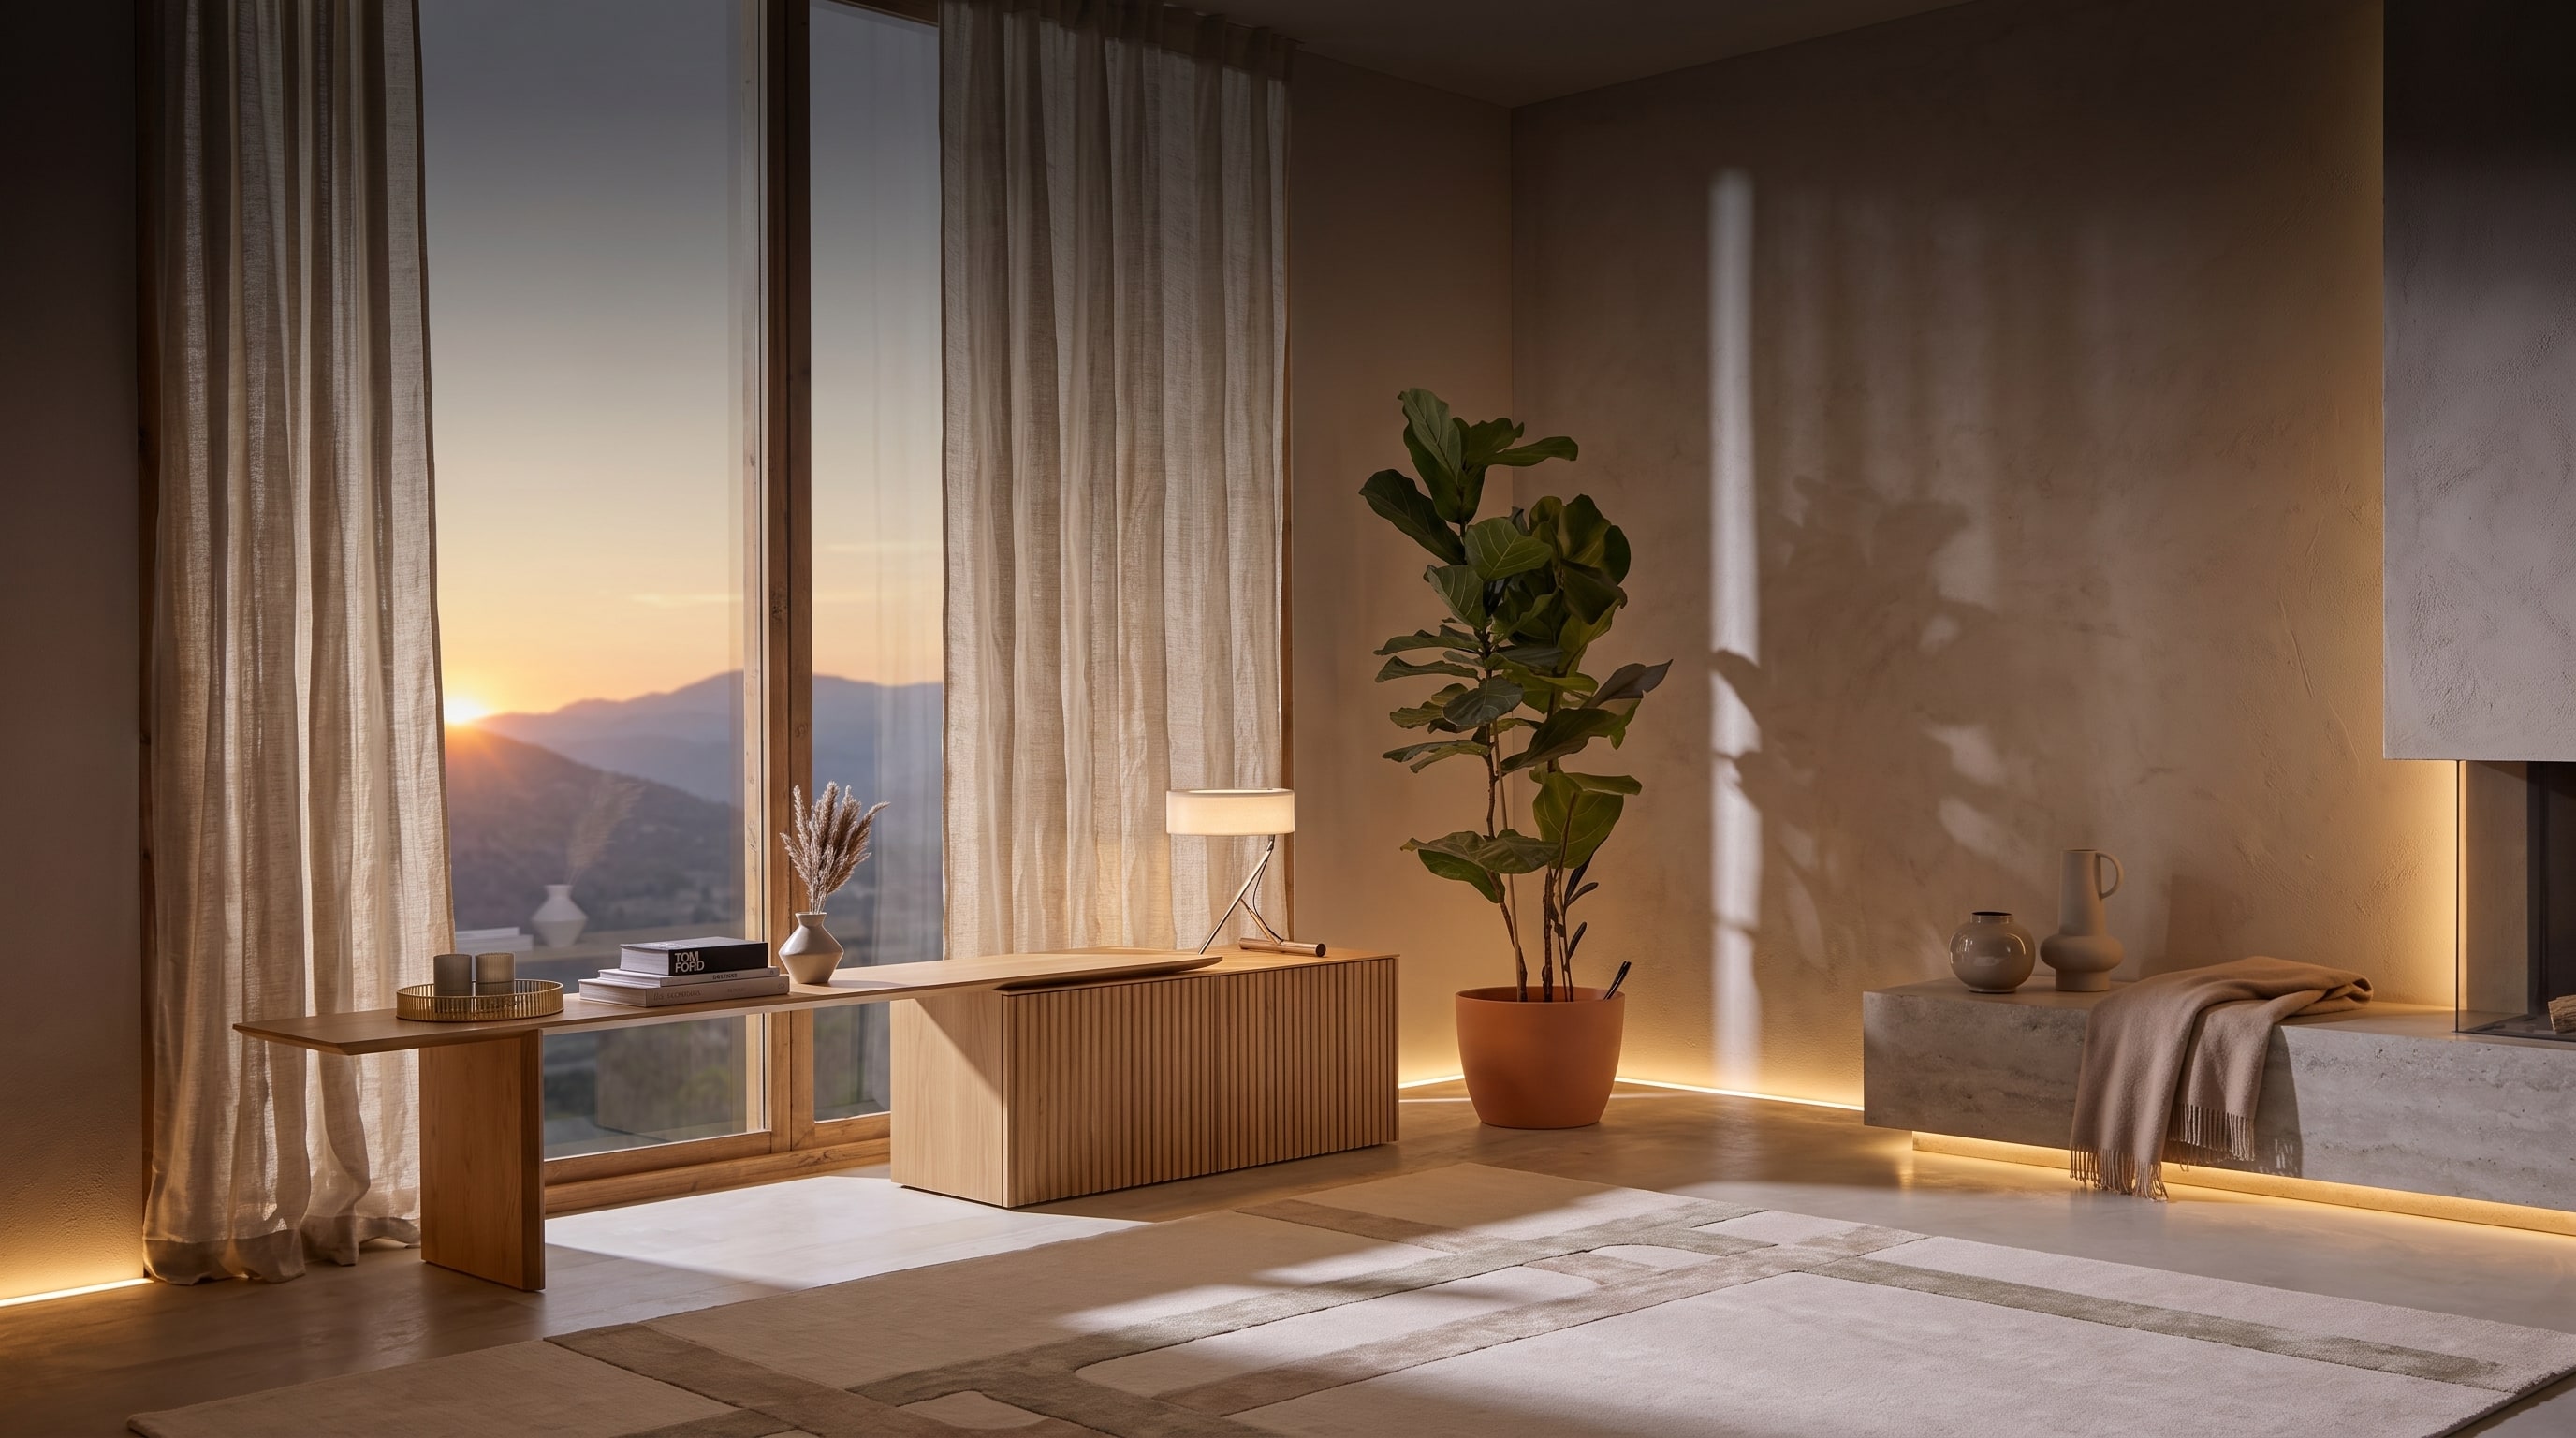 Decorating Empty Corners & Open Spaces: The Architectural Sideboard SolutionFrom smart room dividers to minimalist media walls: Discover three ways the Punt Velasca Sideboard transforms open living concepts.
 - Livitalia Rondo: The Curved Design Trend Redefining Modern Living
 Livitalia Rondo: The Curved Design Trend Redefining Modern LivingFlowing lines instead of sharp corners: How the current trend towards organic forms transforms the modern bedroom into an oasis of calm.
 - Tall Chest of Drawers: 8 Smart Styling Ideas for Hallways, Bedrooms & Stairwells
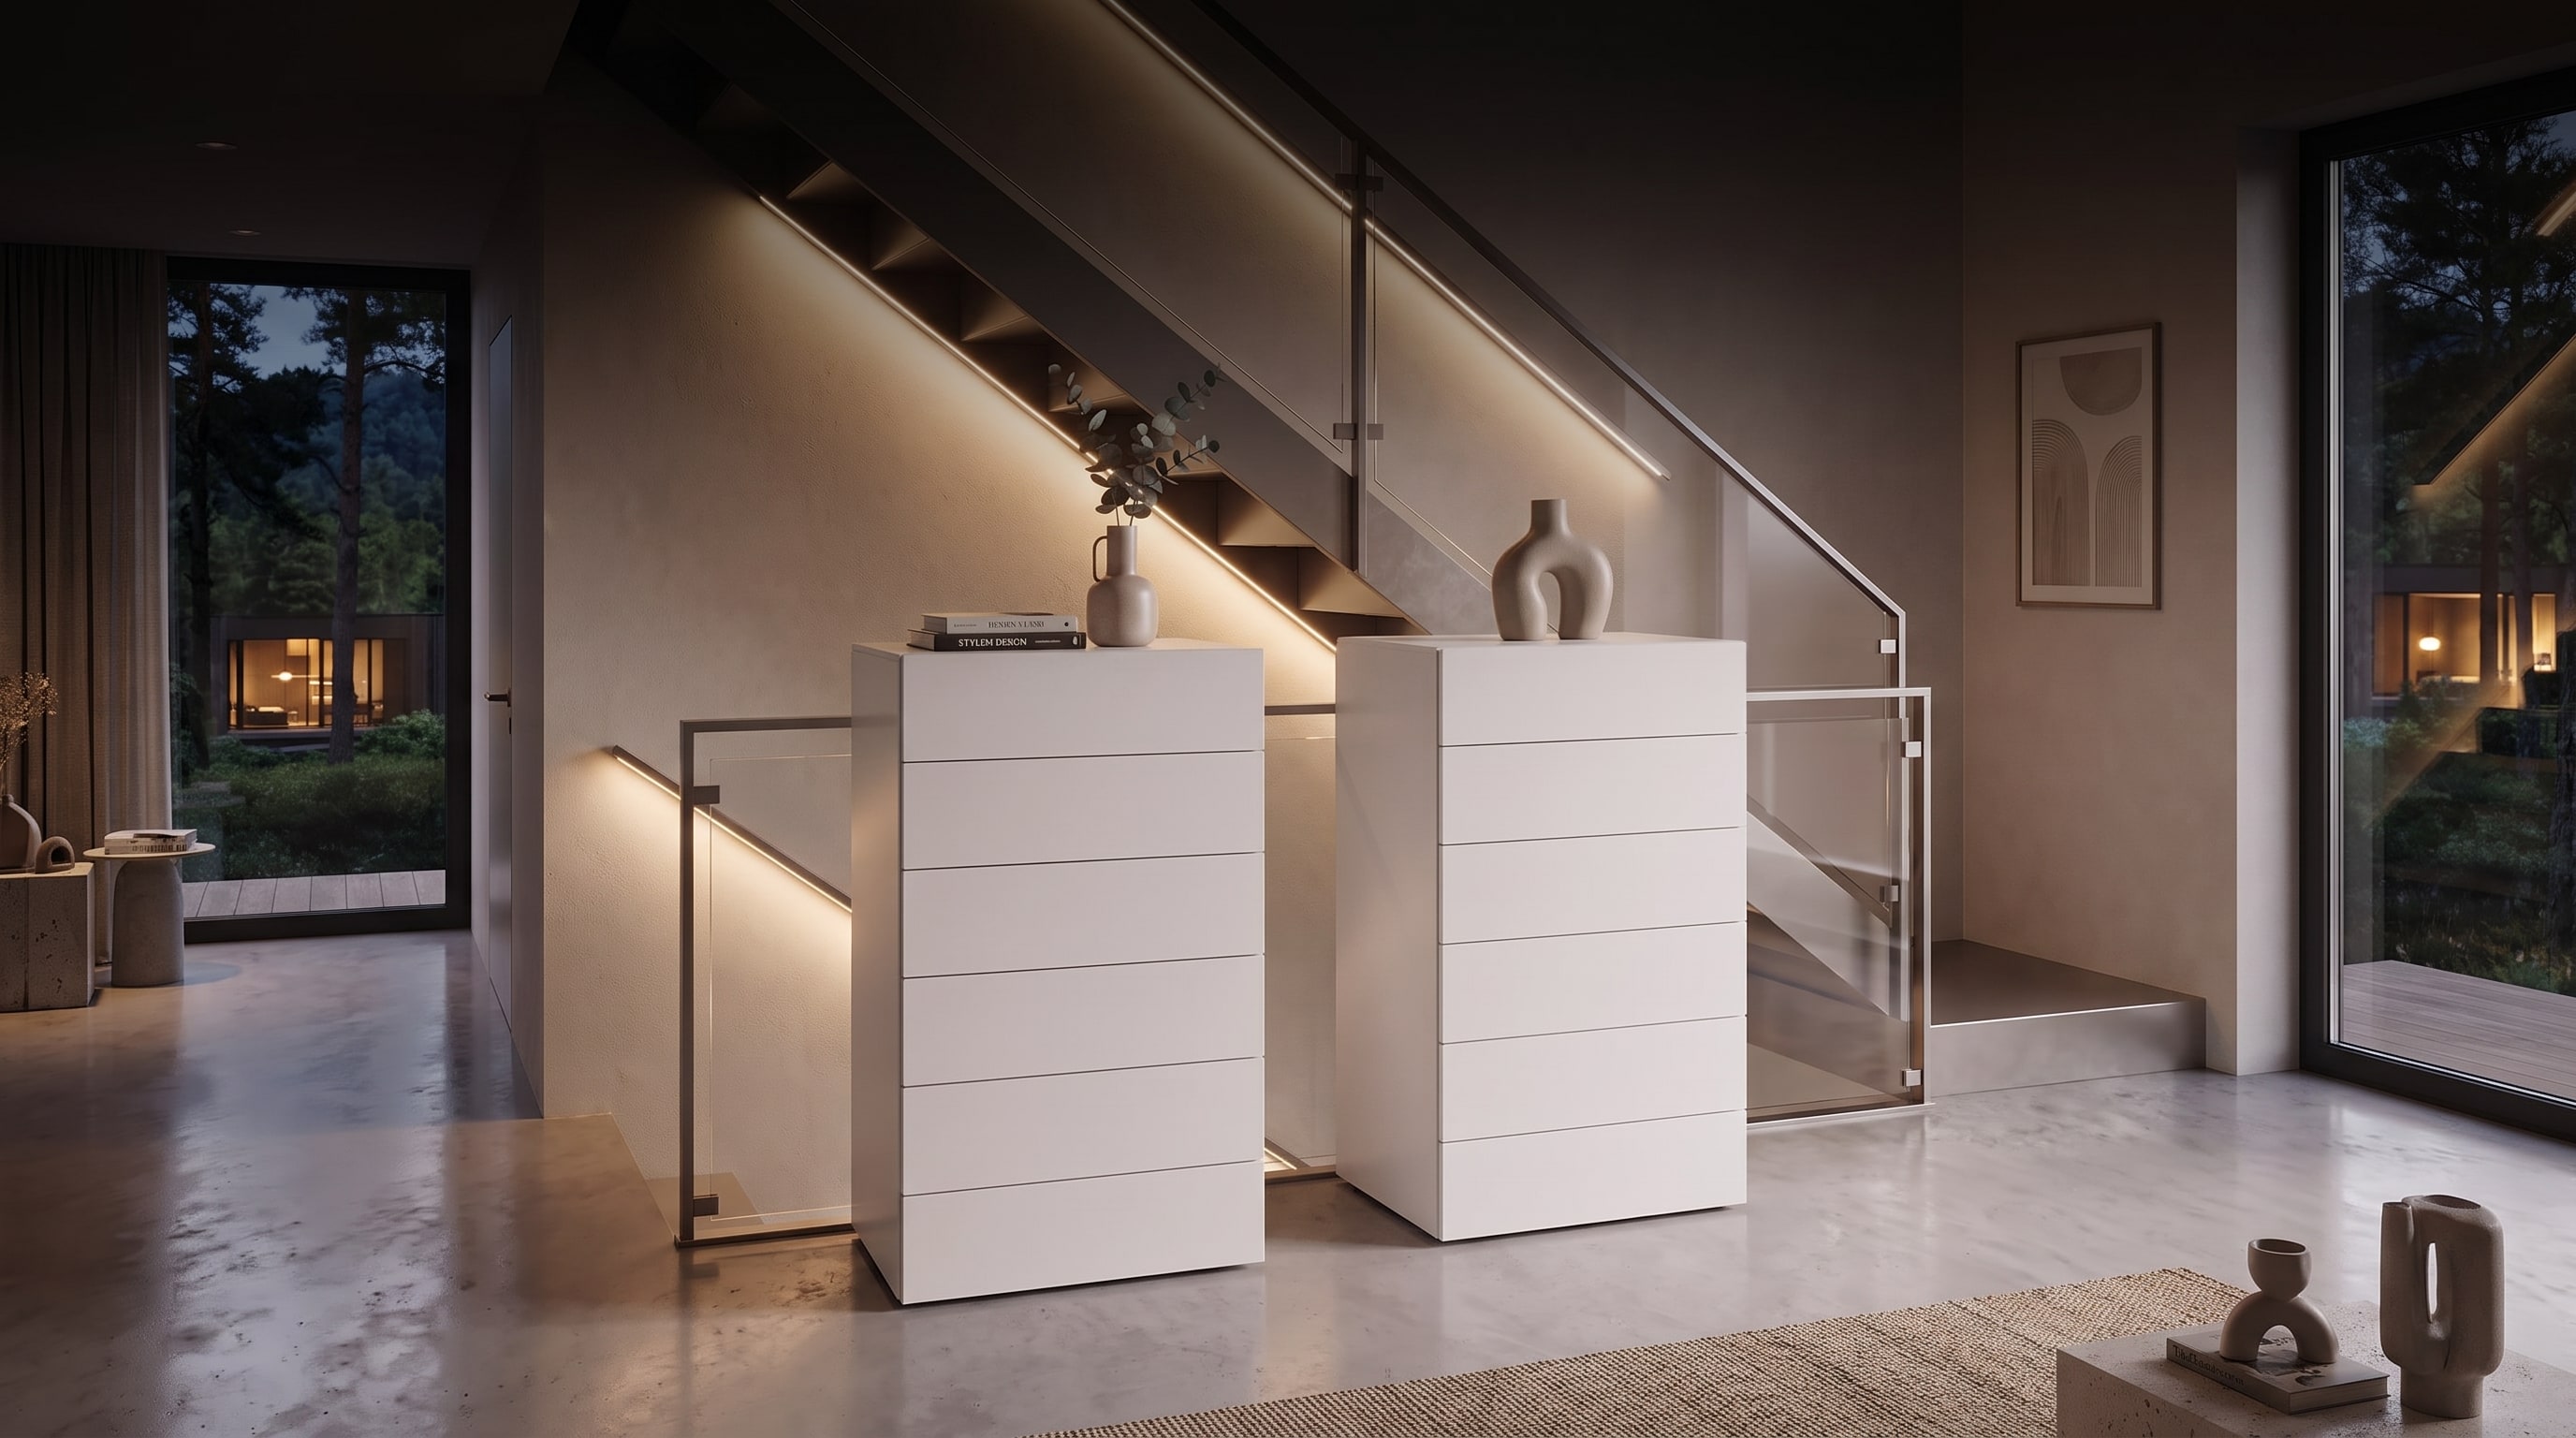 Tall Chest of Drawers: 8 Smart Styling Ideas for Hallways, Bedrooms & StairwellsDiscover how a modern tall chest of drawers transforms narrow rooms and unused corners into stylish storage wonders.
 - Luxury Custom Wardrobe: Uncover Your Hidden Beauty Niche
 Luxury Custom Wardrobe: Uncover Your Hidden Beauty NicheA tidy bedroom radiates calm – but where do perfume, jewelry, and mirrors go? The solution lies in an intelligently planned wardrobe niche.


Wall Mounting Furniture: A Step-by-Step Guide
A large number of our living room units, sideboards, cabinets, and shelves are designed for wall mounting. For those who prefer not to hire a tradesperson to hang their furniture, this blog post explains step-by-step how wall mounting works.
What to consider when drilling?
Before drilling, you should check the wall for electrical and water pipes. A multi-detector (don't skimp on this) can be used to locate electrical cables, network cables, wooden studs, and water pipes. Typically, electrical cables run vertically and horizontally to the sockets. After checking the wall, mark the drill hole in a suitable spot with a pencil.
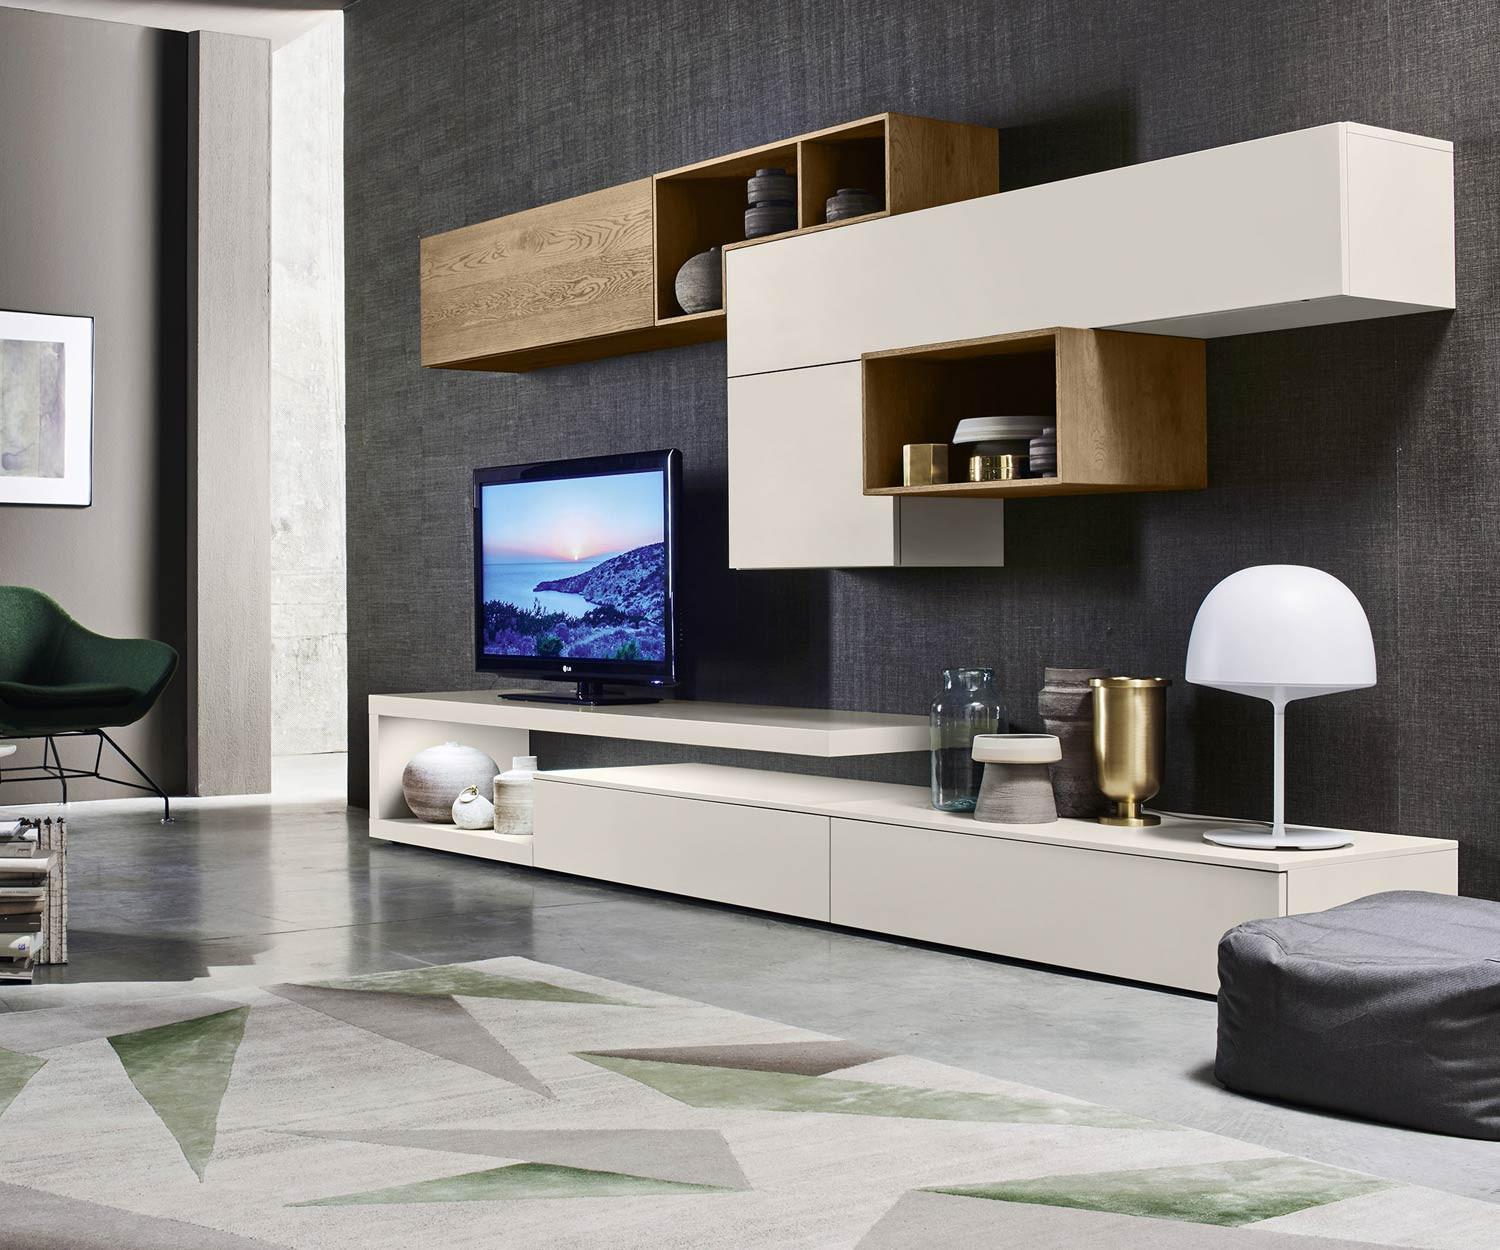 Product shown true to original. Room styling created by digital staging.
Livitalia Living Room Unit C22
Match the drill bit size to the rawlplug diameter. The drill hole depth should correspond to the rawlplug length. Mark the spot on the drill bit with coloured tape or use the depth stop on the drill (not every drill has a depth stop). Position the drill at a right angle to the wall. Set the rotary drilling function and drill steadily, without applying too much pressure through the plaster. Afterwards, clean the drill hole with a vacuum cleaner.
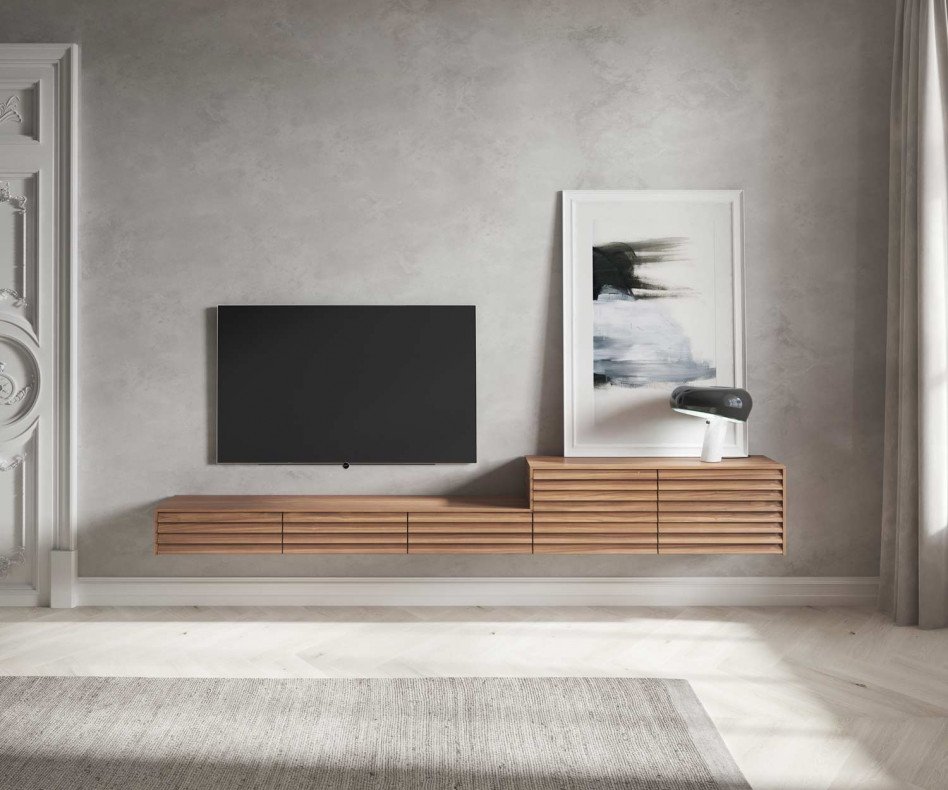 Product shown true to original. Room styling created by digital staging.
Punt Sussex Configurator
Check the drill hole with the rawlplug to be used. If the drill hole is too small, repeat the process with a larger drill bit. If the drill hole is too large, fill the hole with filler, press the rawlplug in, and remove any excess filler (allow the filler to cure for 2 hours). If the rawlplug fits directly into the drill hole, fully anchor the rawlplugs into the drill hole with gentle hammering. The hooks or screws for furniture attachment are now screwed into the rawlplugs.
What material is my wall made of?
Before attaching furniture to the wall, you should familiarise yourself with the composition of your wall. To determine the wall material, it's best to do a test drill. For this, drill a maximum of six centimetres deep into the wall; we recommend using the drill's depth stop for control. The colour of the drill dust reveals what material the wall is made of.
What does the drill dust tell me?
- If the drill dust is white to grey and very fine, then it is a concrete wall.
- Red drill dust is a clear sign of a brick wall.
- White, sandy drill dust indicates sand-lime brick (also known as aerated concrete).
- White, fine drill dust that sticks to the drill bit during the test drill indicates a plasterboard wall (also known as drywall).
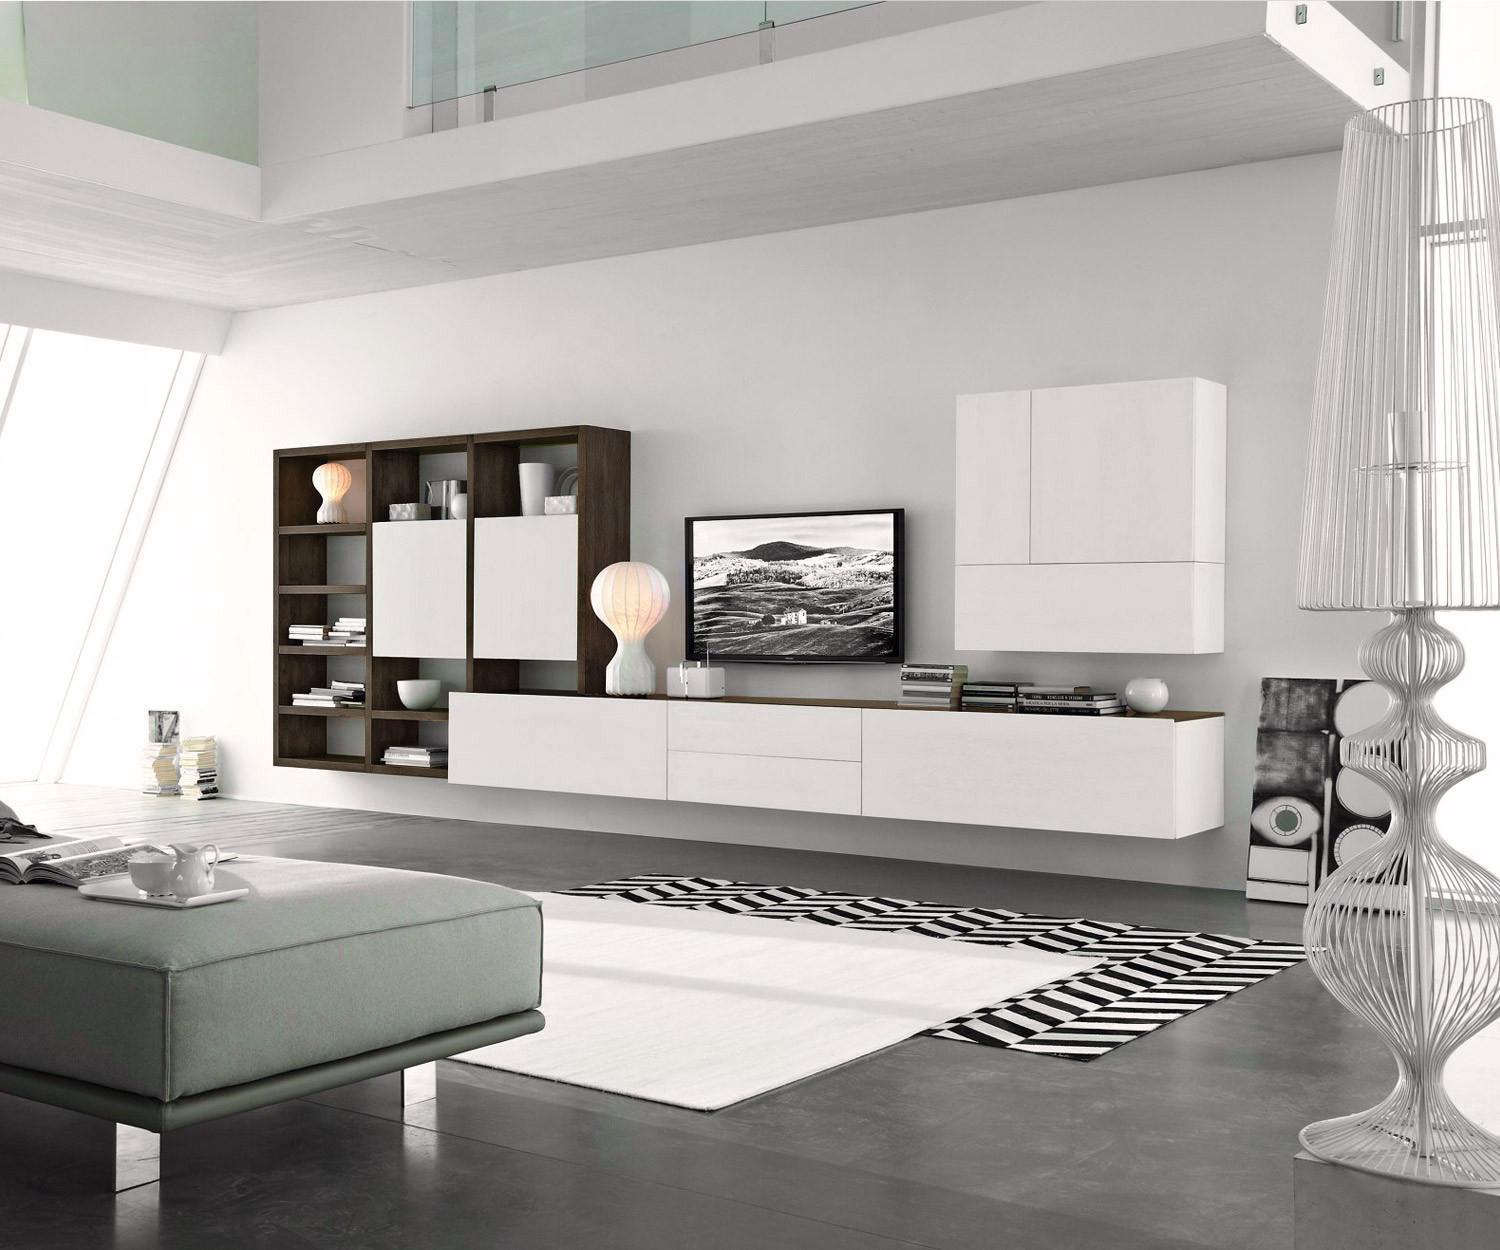 Product shown true to original. Room styling created by digital staging.
Livitalia Living Room Unit C96B
Which wall plug is right for which wall?
Furniture often comes with wall plugs. However, these plugs are standard plugs that you can only use for concrete walls. For all other walls, please get the correct wall plugs for mounting from a DIY store and only use branded plugs to avoid any nasty surprises.
 Product shown true to original. Room styling created by digital staging.
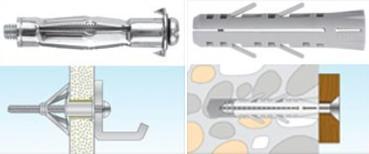
Cavity wall plugs (left) and expansion plugs (right) from Hornbach
For concrete walls, an impact drill is ideal and a universal plug is sufficient. If you want to drill into very hard concrete, you may need a rotary hammer drill. A special plug is necessary for aerated concrete. Here, the aerated concrete plug with its spiral outer ribs is the best choice – especially in combination with the appropriate security screw.
For masonry, a distinction must be made between solid brick and perforated brick. The former are pressure-resistant and unproblematic. Any plug can be used here. For perforated brick, a plug must be used that can fill or bridge the cavities, namely a cavity wall plug. If the perforated brick also has a porous structure, a plug that expands widely must be used, as it would otherwise not find purchase, i.e., an expansion plug. For perforated brick and brick walls, please only use a drill with a low wattage and drill without impact.
For plasterboard walls, only two types of plugs are suitable, namely all-purpose plugs and cavity wall plugs. A metal cavity wall plug carries more load than a plastic plug. Here, it is best to use wood drill bits.
As a rule of thumb: The larger the plug, the more it can hold. It makes perfect sense, if in doubt, to opt for a slightly larger plug (z.B 8mm Durchmesser) or to use an extra one. For any questions regarding the correct wall plugs for mounting, any DIY store or our Livarea Team will be happy to assist you.
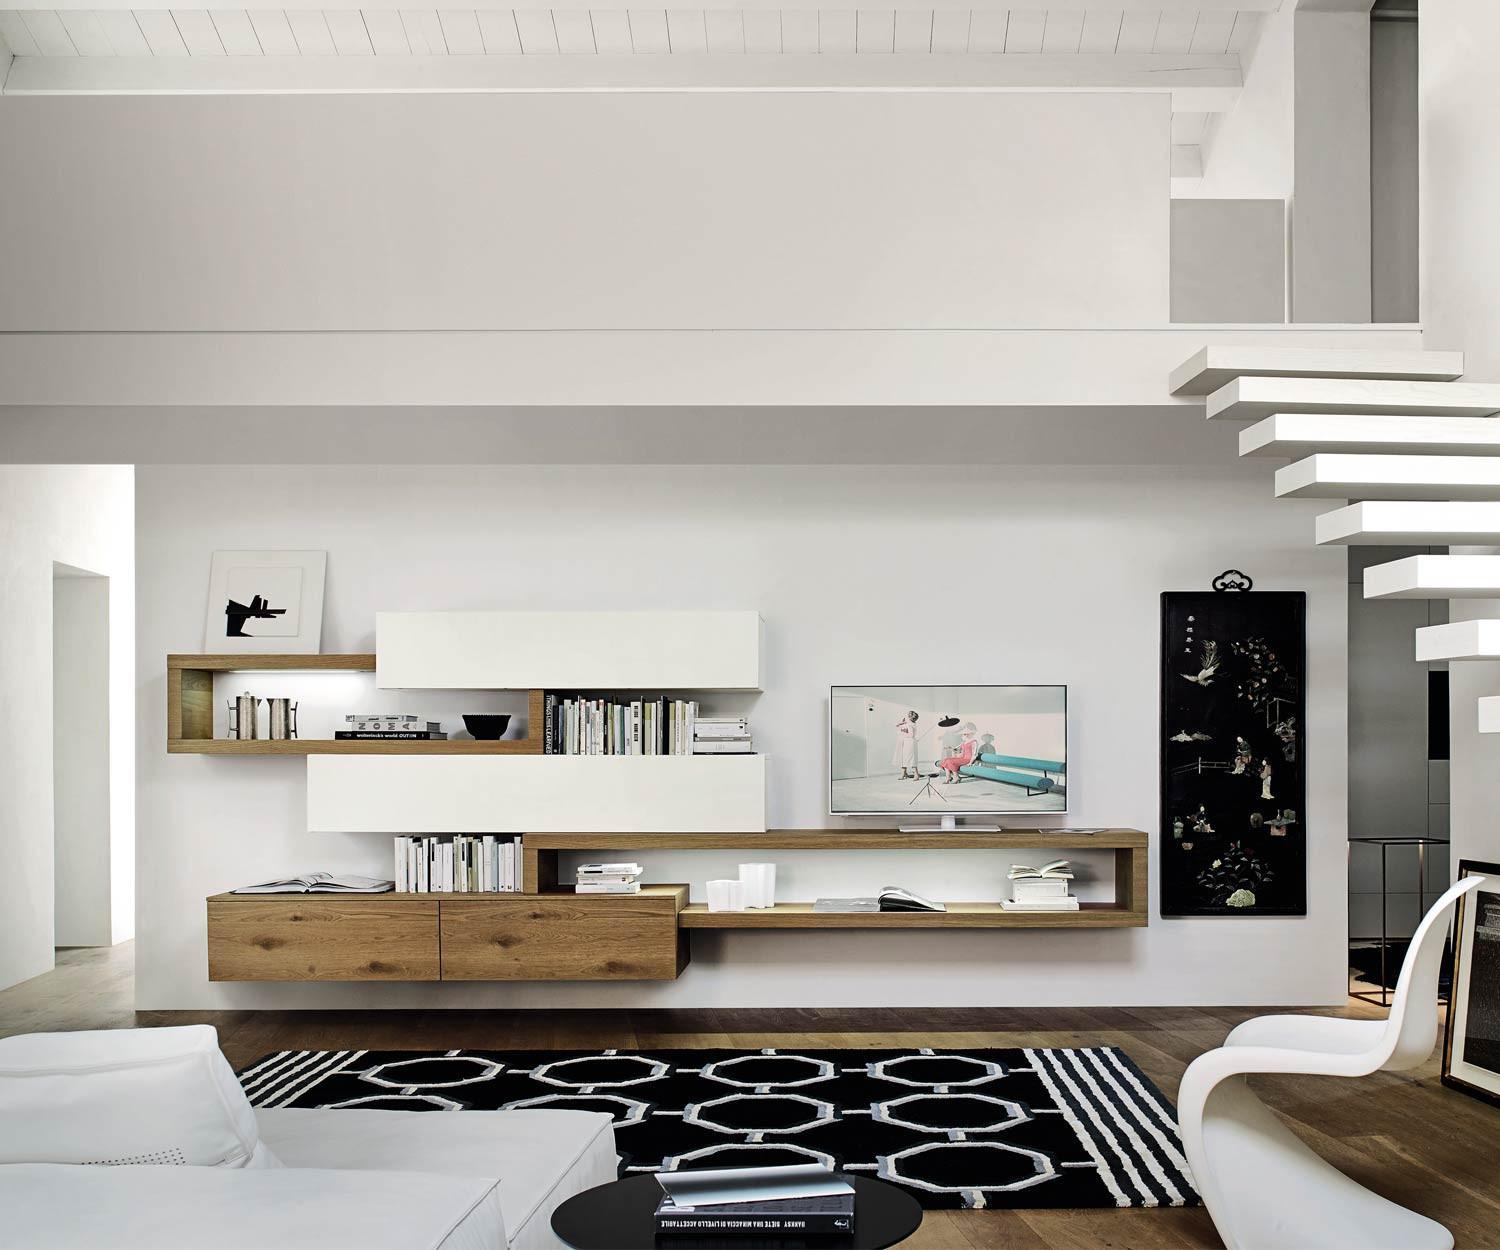 Product shown true to original. Room styling created by digital staging.
Livitalia Wall Unit C25
How do I find the right position for my piece of furniture?
For a floating sideboard on the wall, it is recommended to mount it between knee and hip height. If the cabinet is to serve as a decorative element, it makes sense to mount the top of the furniture at chest height. If you are looking for the right position for your TV set, please read our blog post: At what height should you hang the TV set?
 Product shown true to original. Room styling created by digital staging.
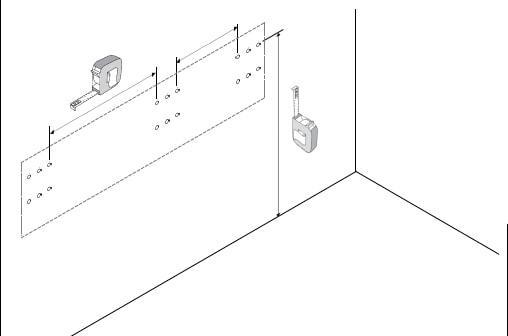
Wall mounting sketch
Once you have decided on a position on the wall, mark these spots with a pencil and check with a spirit level whether the marked spots on the right and left are at the same height, so that the cabinet does not hang crookedly later.
Wall cabinets are hung on special cabinet rails or tracks, which are screwed into the wall. If these are not supplied, you can get them at any DIY store. You should also use special heavy-duty wall plugs if you want to fix the cabinet to the wall, especially if the cabinet is to bear a considerable weight.
Whether you are hanging a living room wall unit on a plasterboard wall or want to fix a chest of drawers to the wall, if you have carefully read our tips, you won't experience any nasty surprises and will enjoy your designer furniture for a long time to come.

Mira Celini
Interior Designer at LivareaAs an Interior Designer at Livarea – since 2012 one of Germany's leading online shops for designer furniture – I assist customers with furnishing their homes. My tips come directly from practical experience: honest, inspiring, and always with an eye for the extraordinary.
→ View all Trend Blog articles